There’s a lot happening in the world of photography these days. Digital cameras, the resurgence of film, and more ways to edit than ever before. One of the best developments is something you most likely always have on hand: your cellphone. Cellphones have come a long way, and one thing is for sure; we now have the ability to create beautiful imagery at our fingertips. Anytime, anywhere. I hope to inspire a new side of creativity in your day to day life. By following these 4 simple steps, you’re bound to end up with some winners.
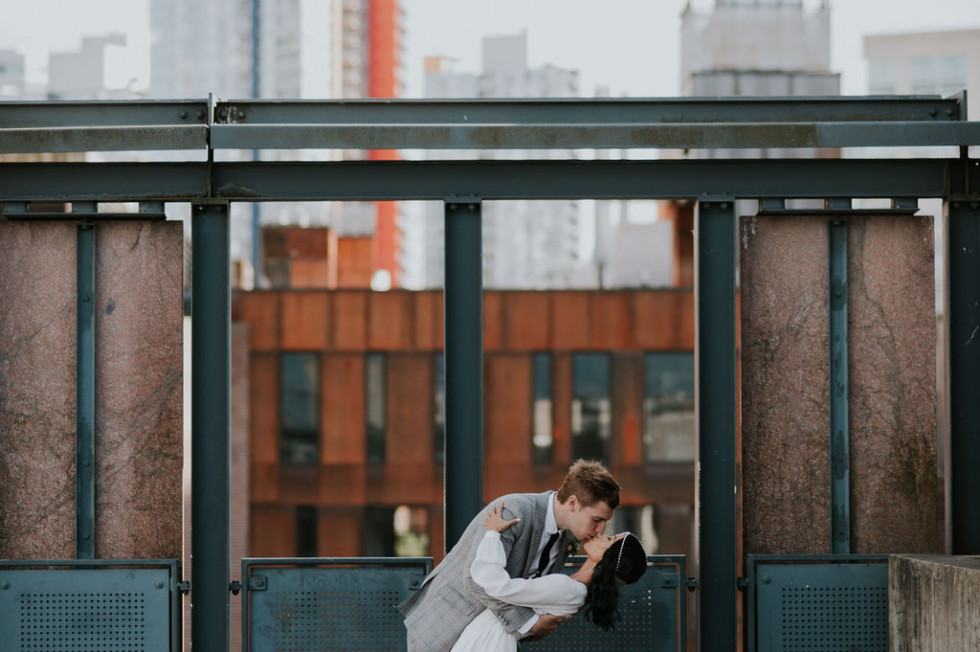
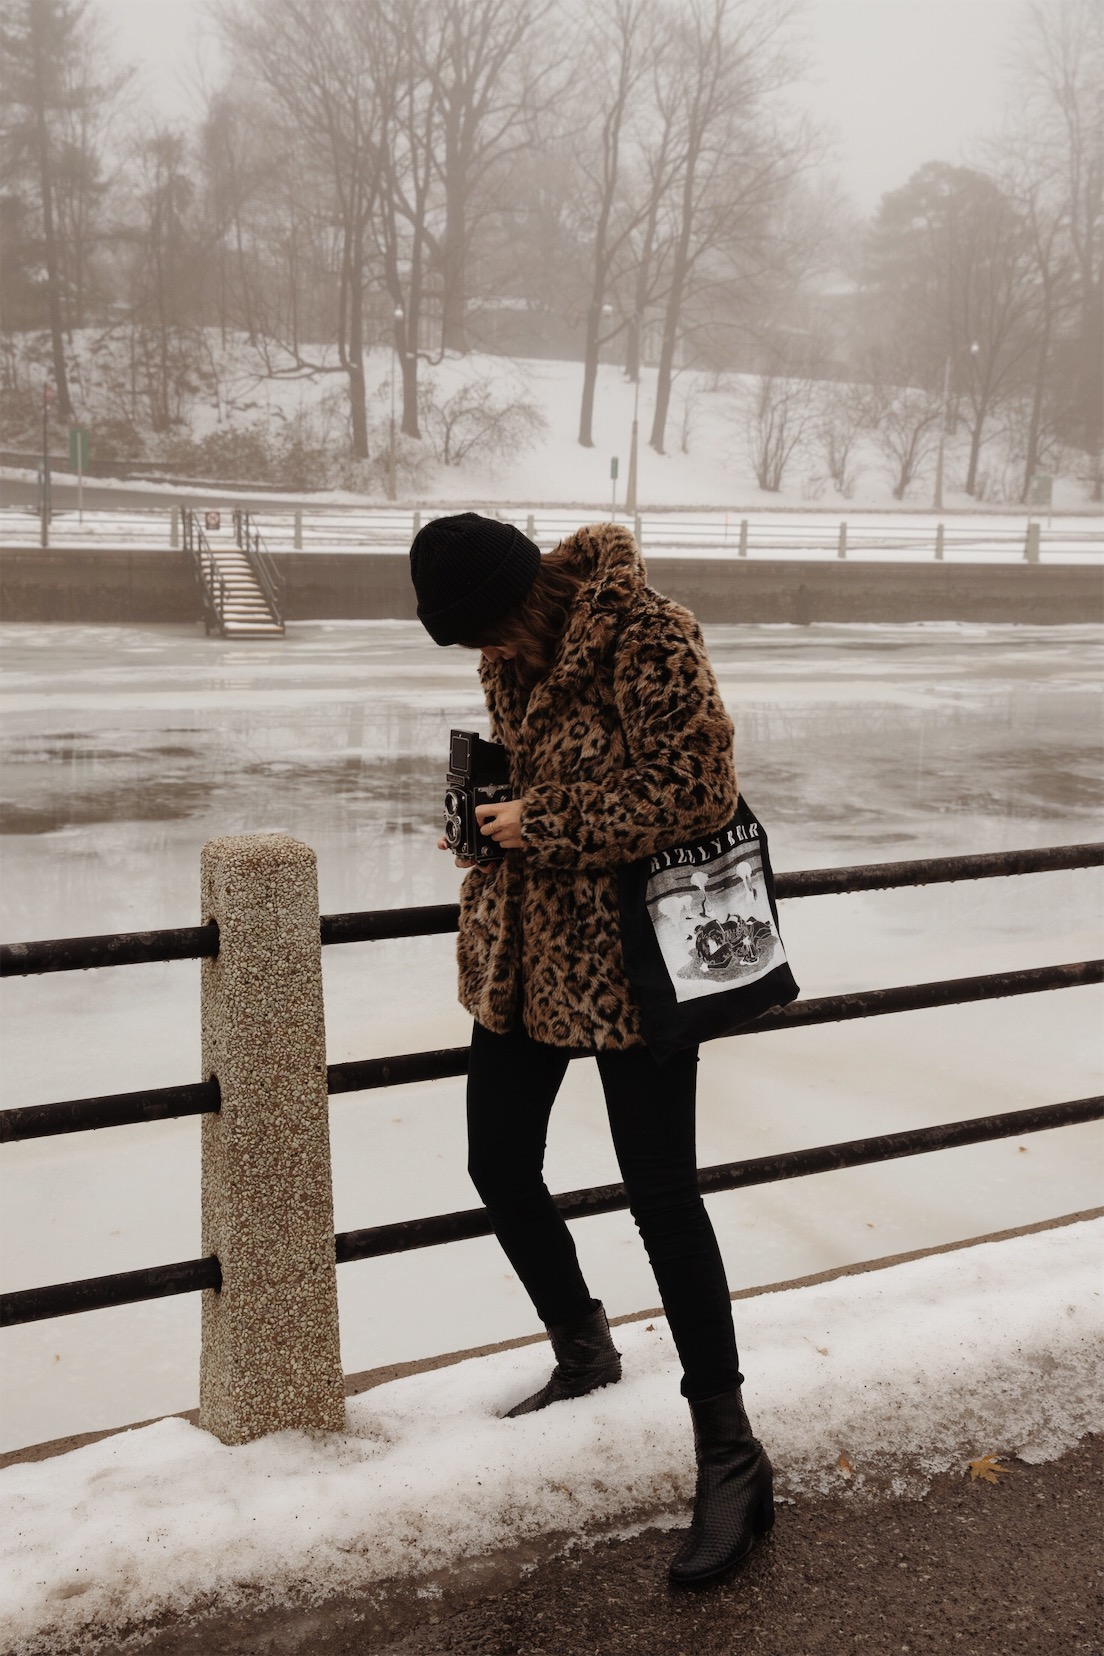
Before we get started, plan ahead by finding a visually pleasing background. You can still create a stunning image through an iPhone, it’s just all in the details. Start by treating your photo session as you would any other shoot. If you’re shooting indoors, tidy up your space. If you’re taking things outside, try looking for a unique wall or foliage to use as your backdrop. Use your creative eye and explore a little. Find your spot, experiment and don’t forget to have fun with it.
This is probably the most crucial step of them all. It’s what can typically make or break your image. You need to find the best source of light. If you’re lucky enough to own studio lights or a ring lamp, then start there.
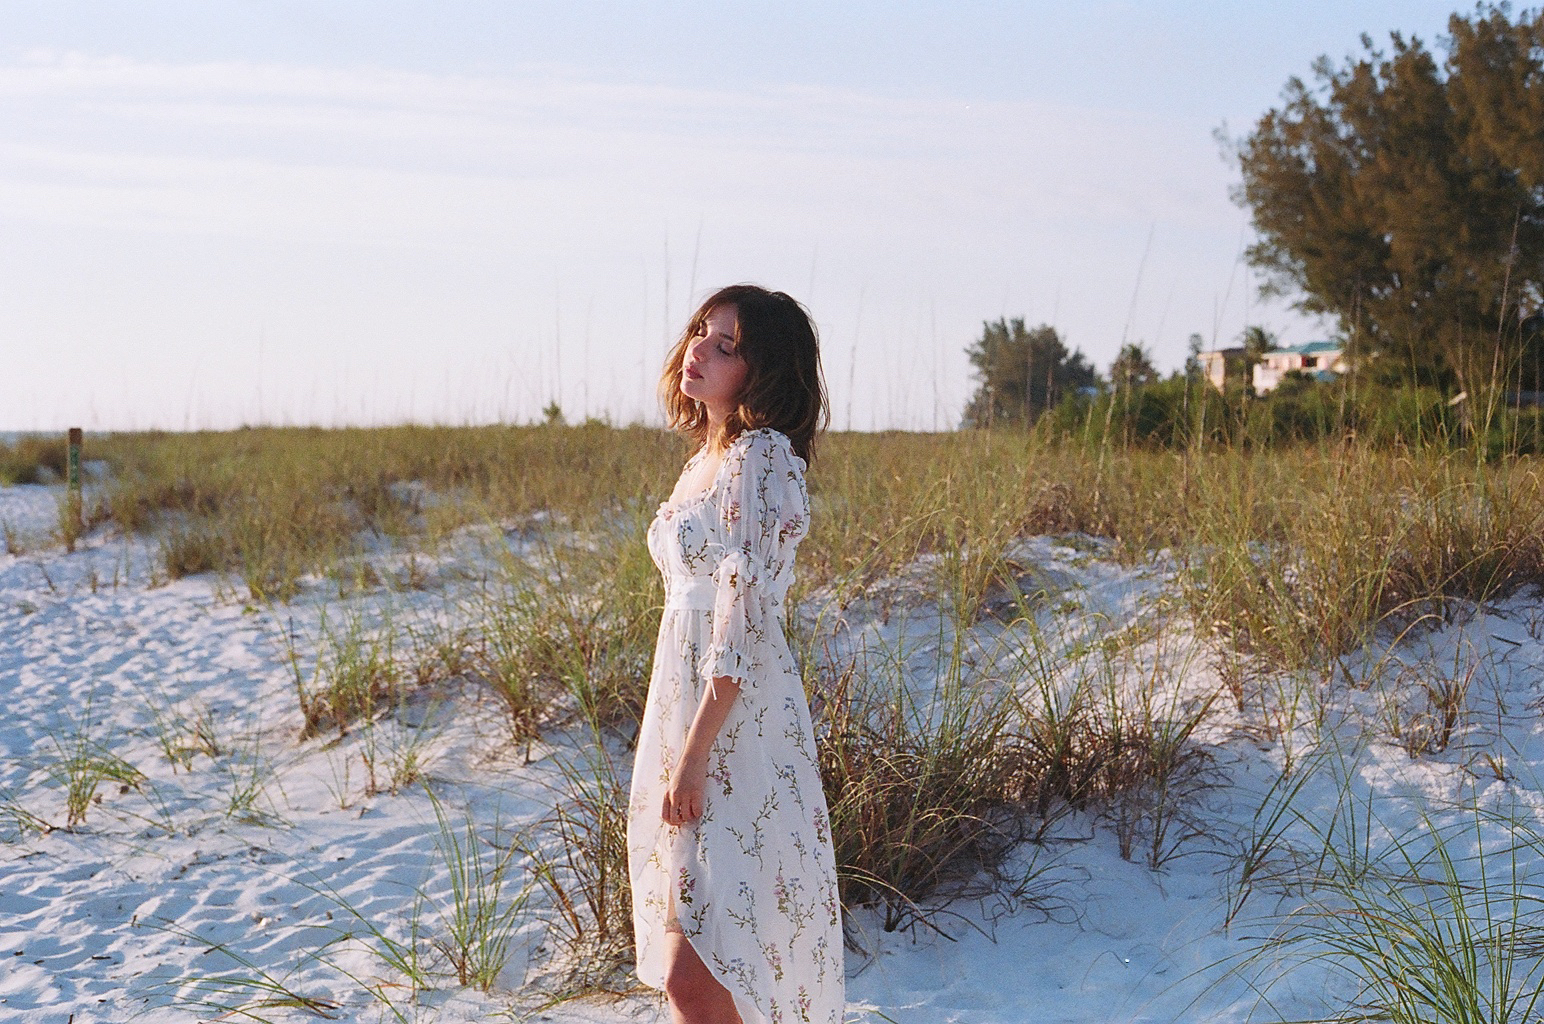
Natural light, however is your best friend. It can be used both in doors and out. I love the details in shadows from windows and blinds, experiment with different compositions with these real life effects. If you’ve chosen to shoot outdoors, bright afternoons can be quite forgiving for iPhone photos, but the ideal times for most shoots would be sunrise or sunset.
Ah yes, angles. Not to be confused with angels. Hopefully through trial and error, you may be able to find an angle that makes you look like an angel. In all seriousness though, this rule of thumb doesn’t just apply to selfies.
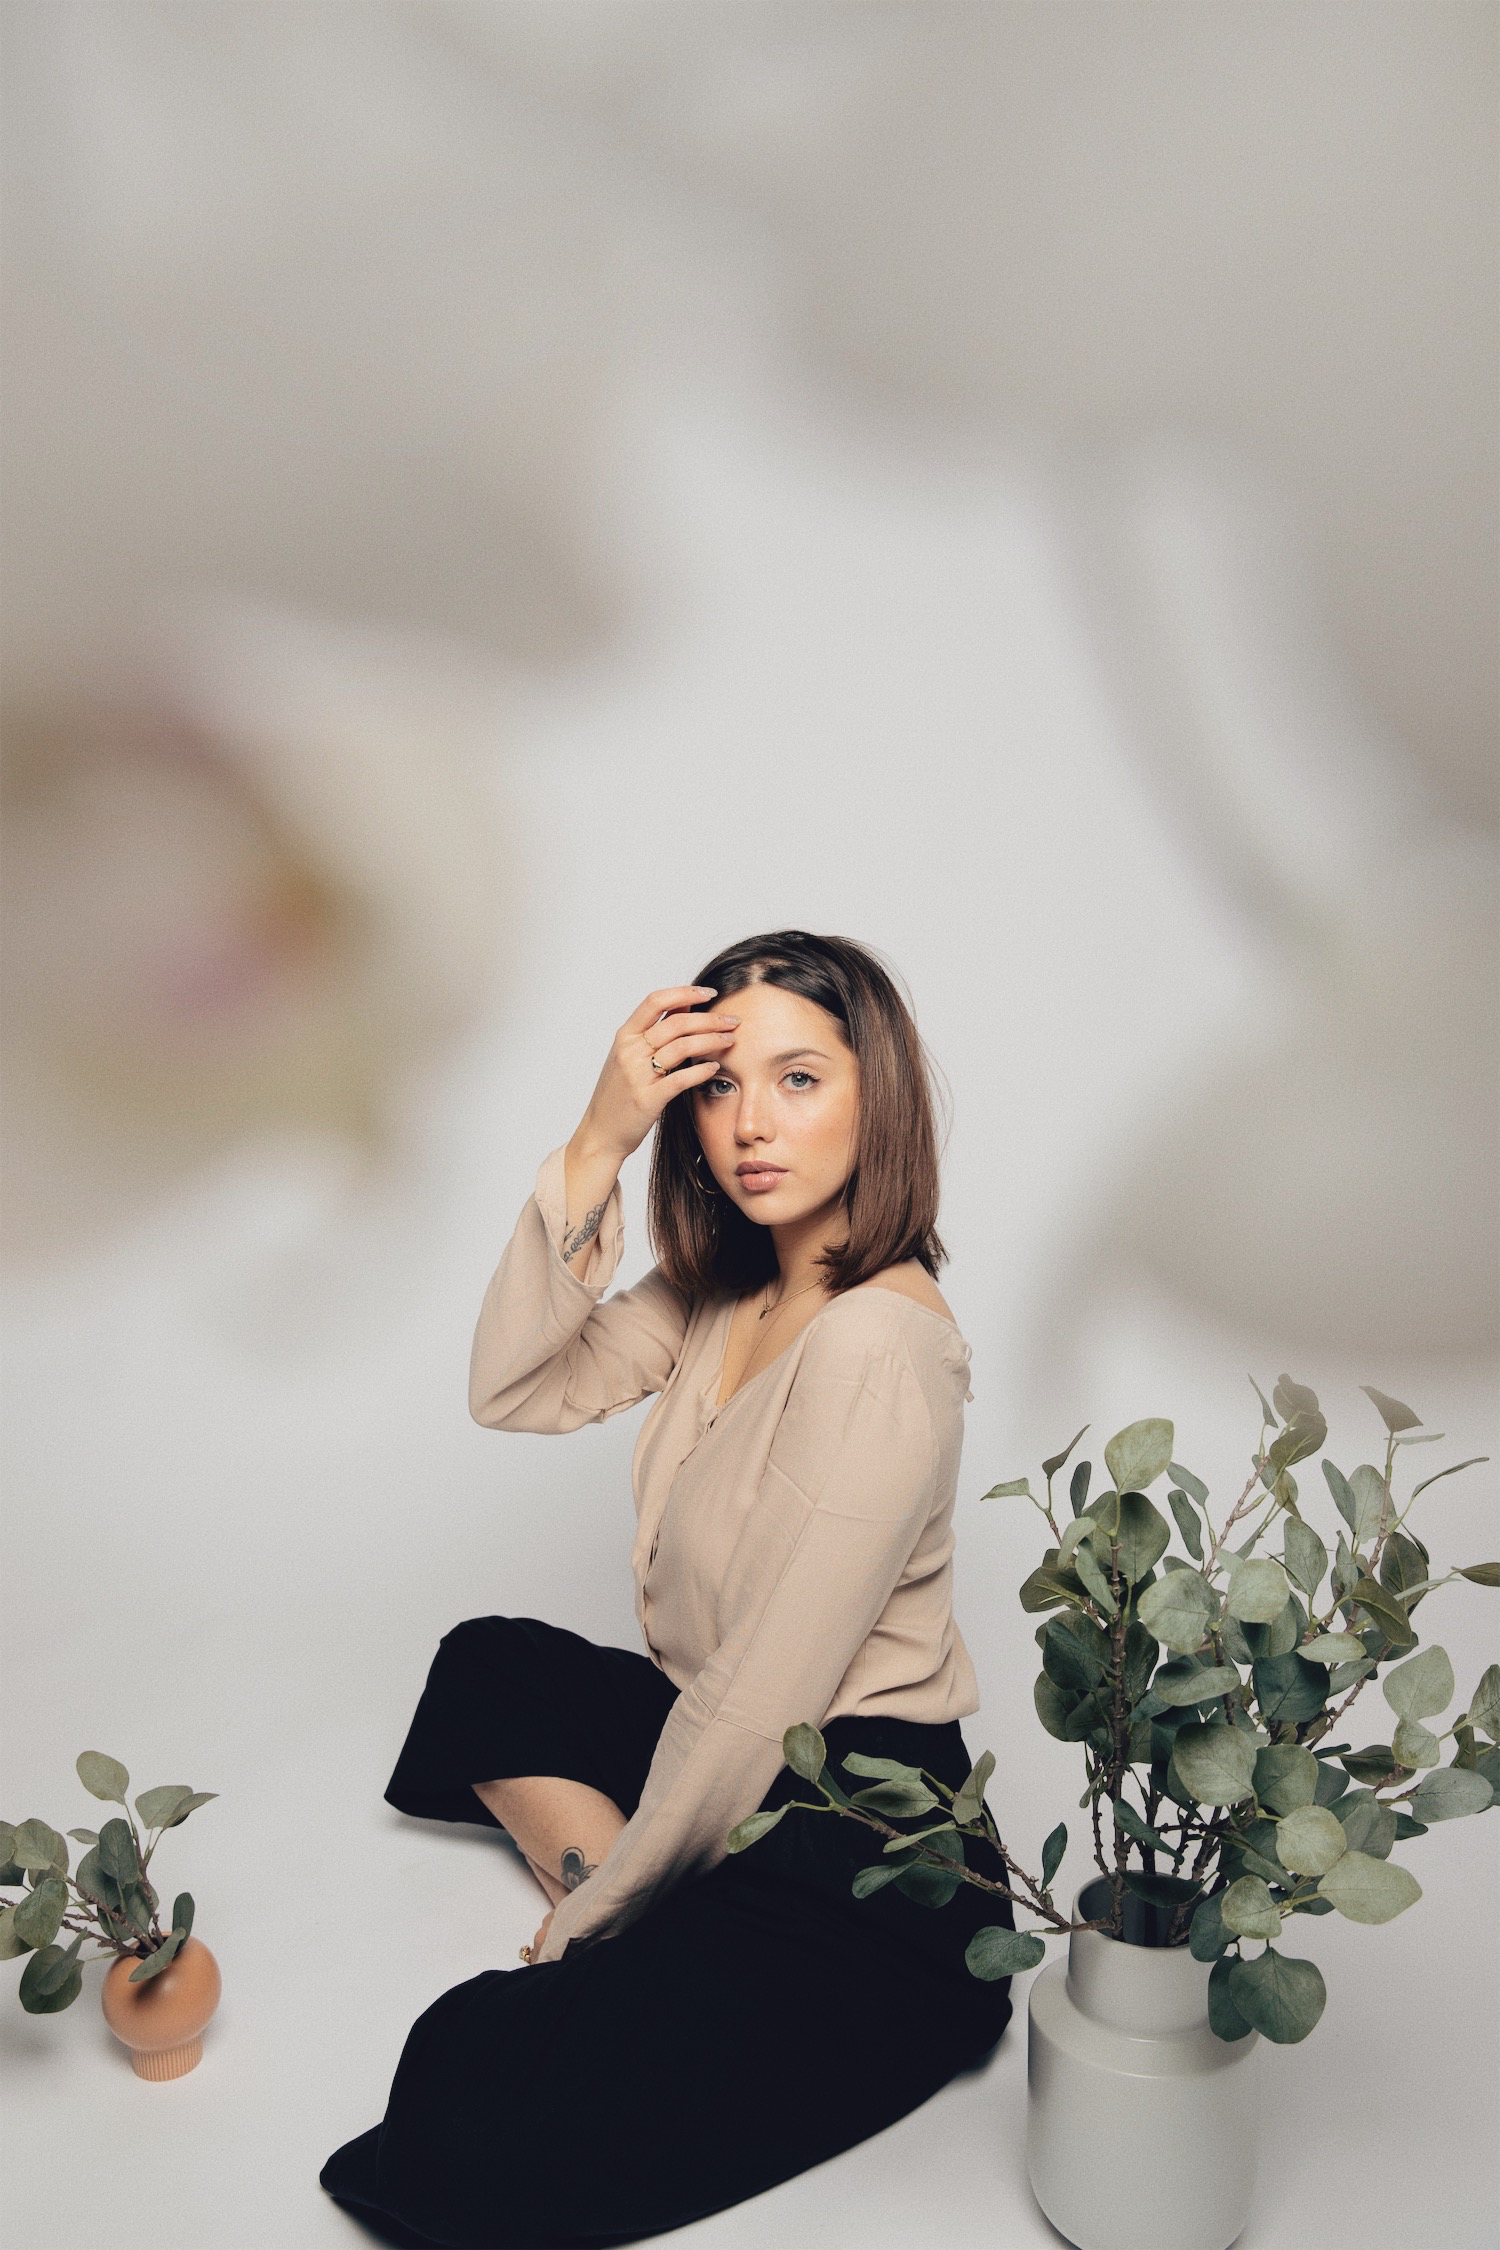
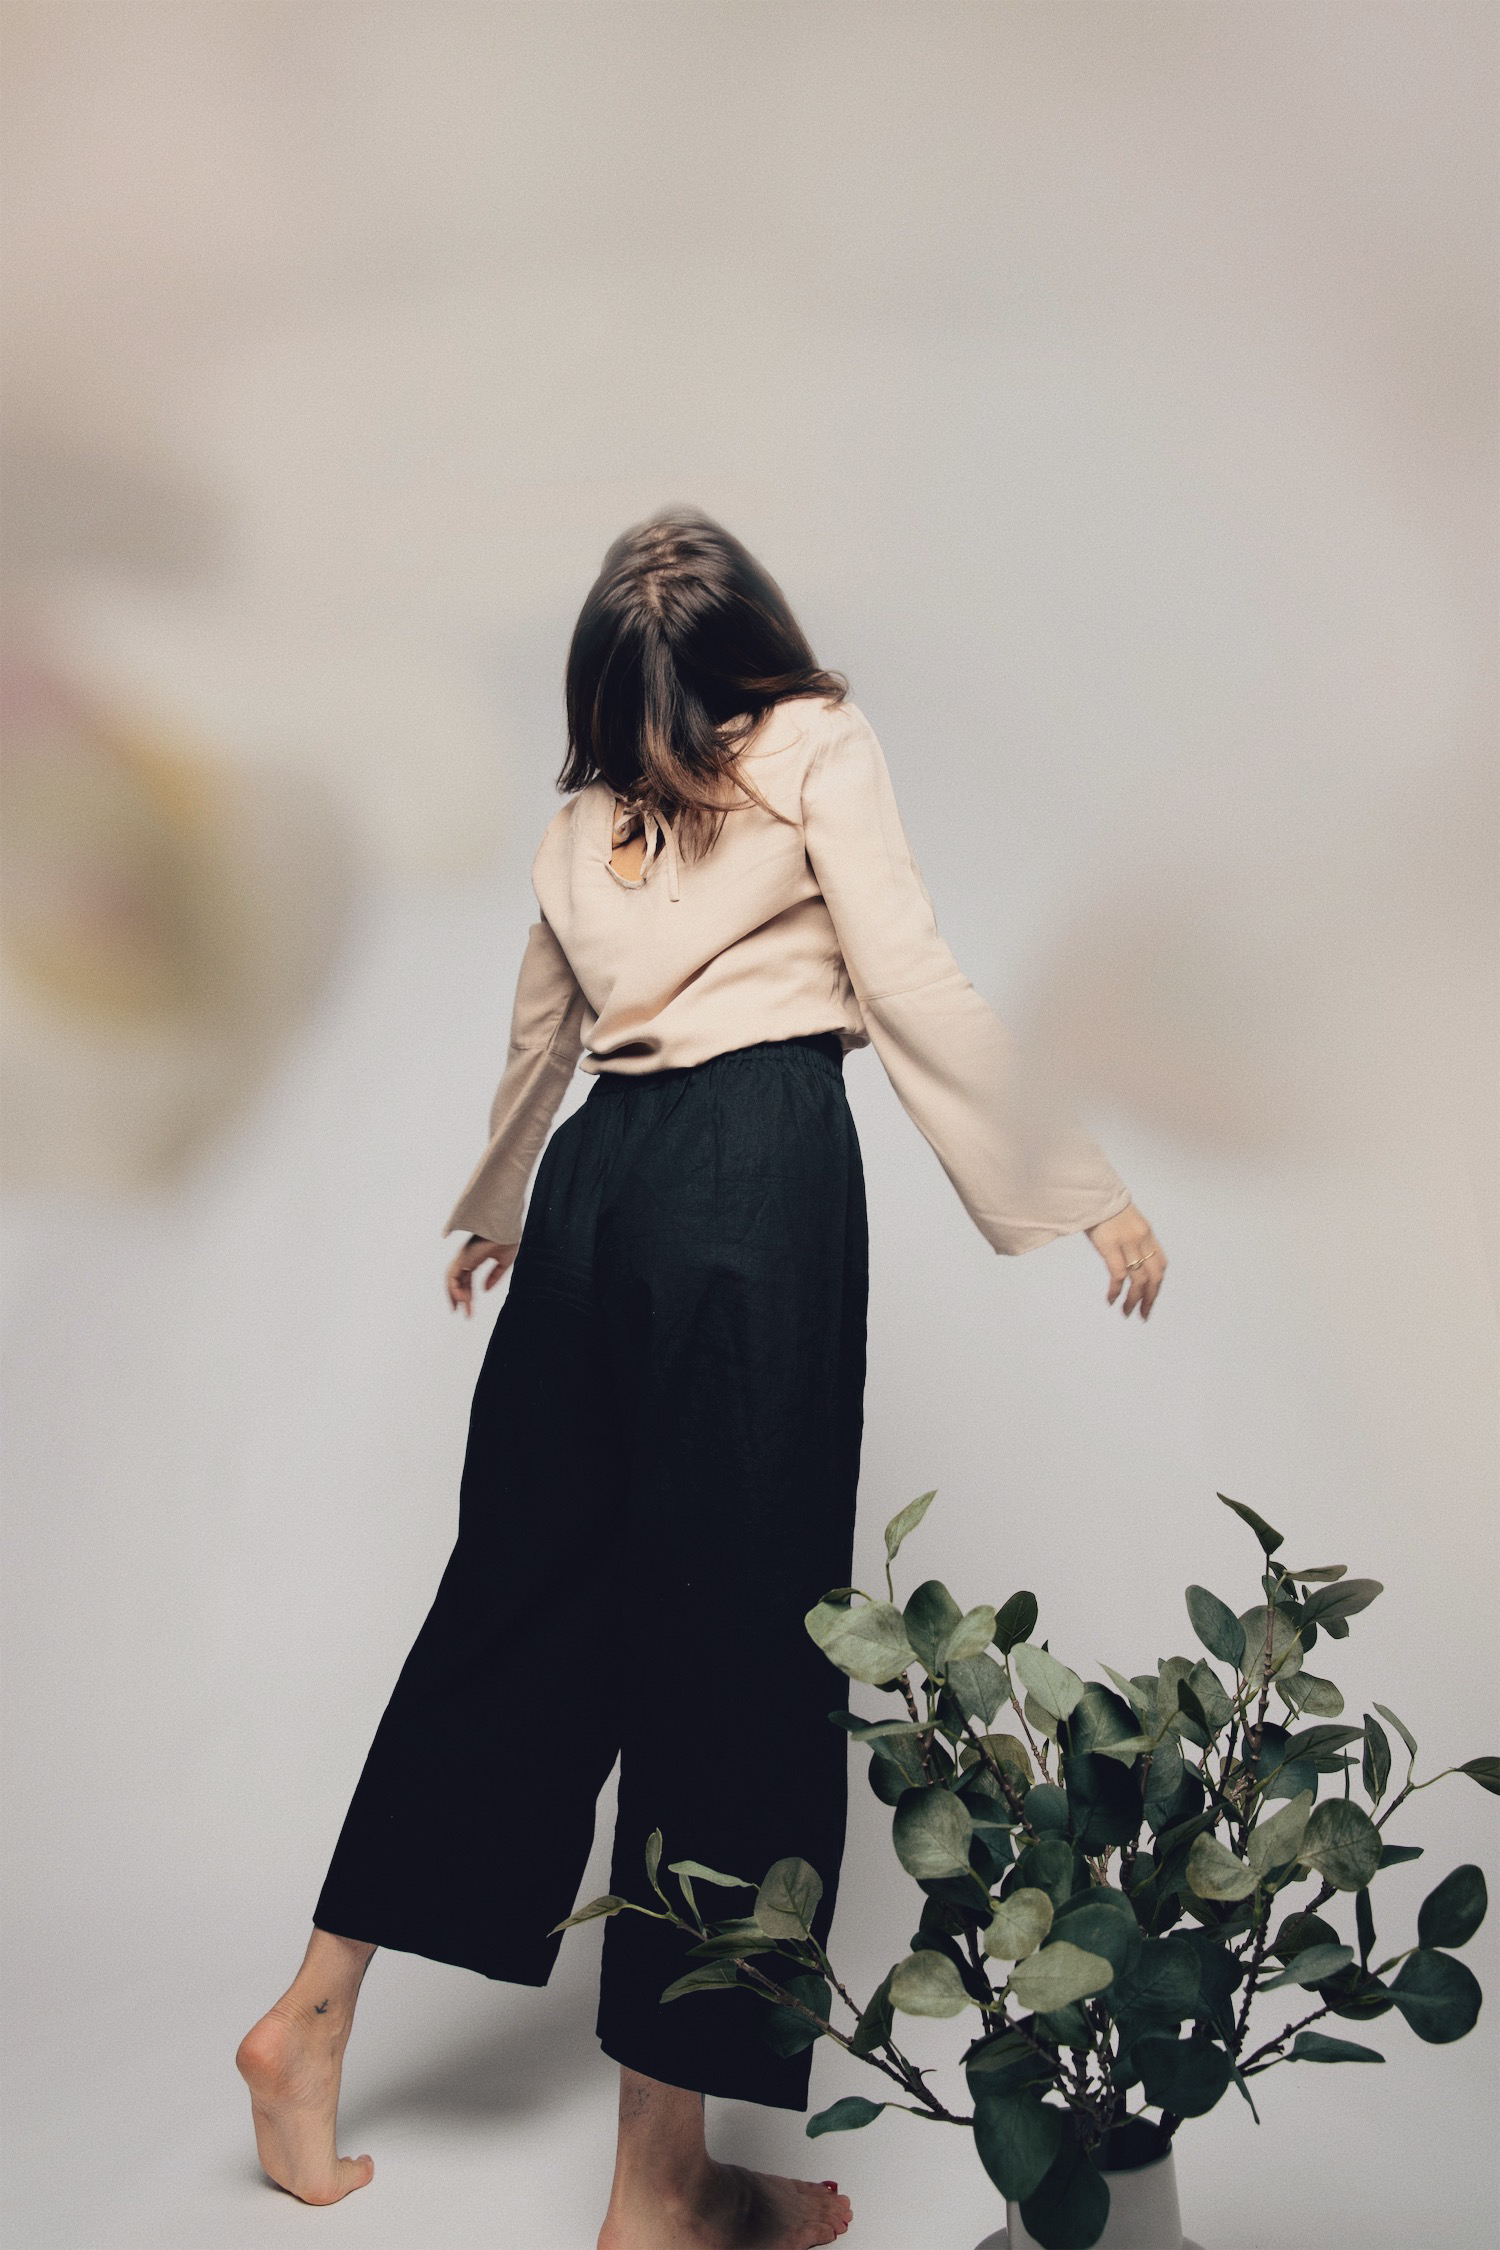
No matter the subject, do not be afraid to experiment with angles. Get low, tilt your iPhone in different directions, use the compact size to your advantage. One of my favourite things to do is to play with depth of field, you can do this by placing props or objects closer to the camera having it create a blur effect framing the image.
If your aesthetic is unedited iPhone photos, you’re all done. It really was that simple. If not, there’s a couple apps you’ll want to download that really take your photos to the next level. The first is VSCO, there’s so many filters to choose from, most of them free and some packages for purchase. Either way, through VSCO you have all the settings you need to customize your photo to your ideal look. They also have a camera within the app which has all kinds of manual settings, you can experiment here with long exposures, lighting, and so much more.
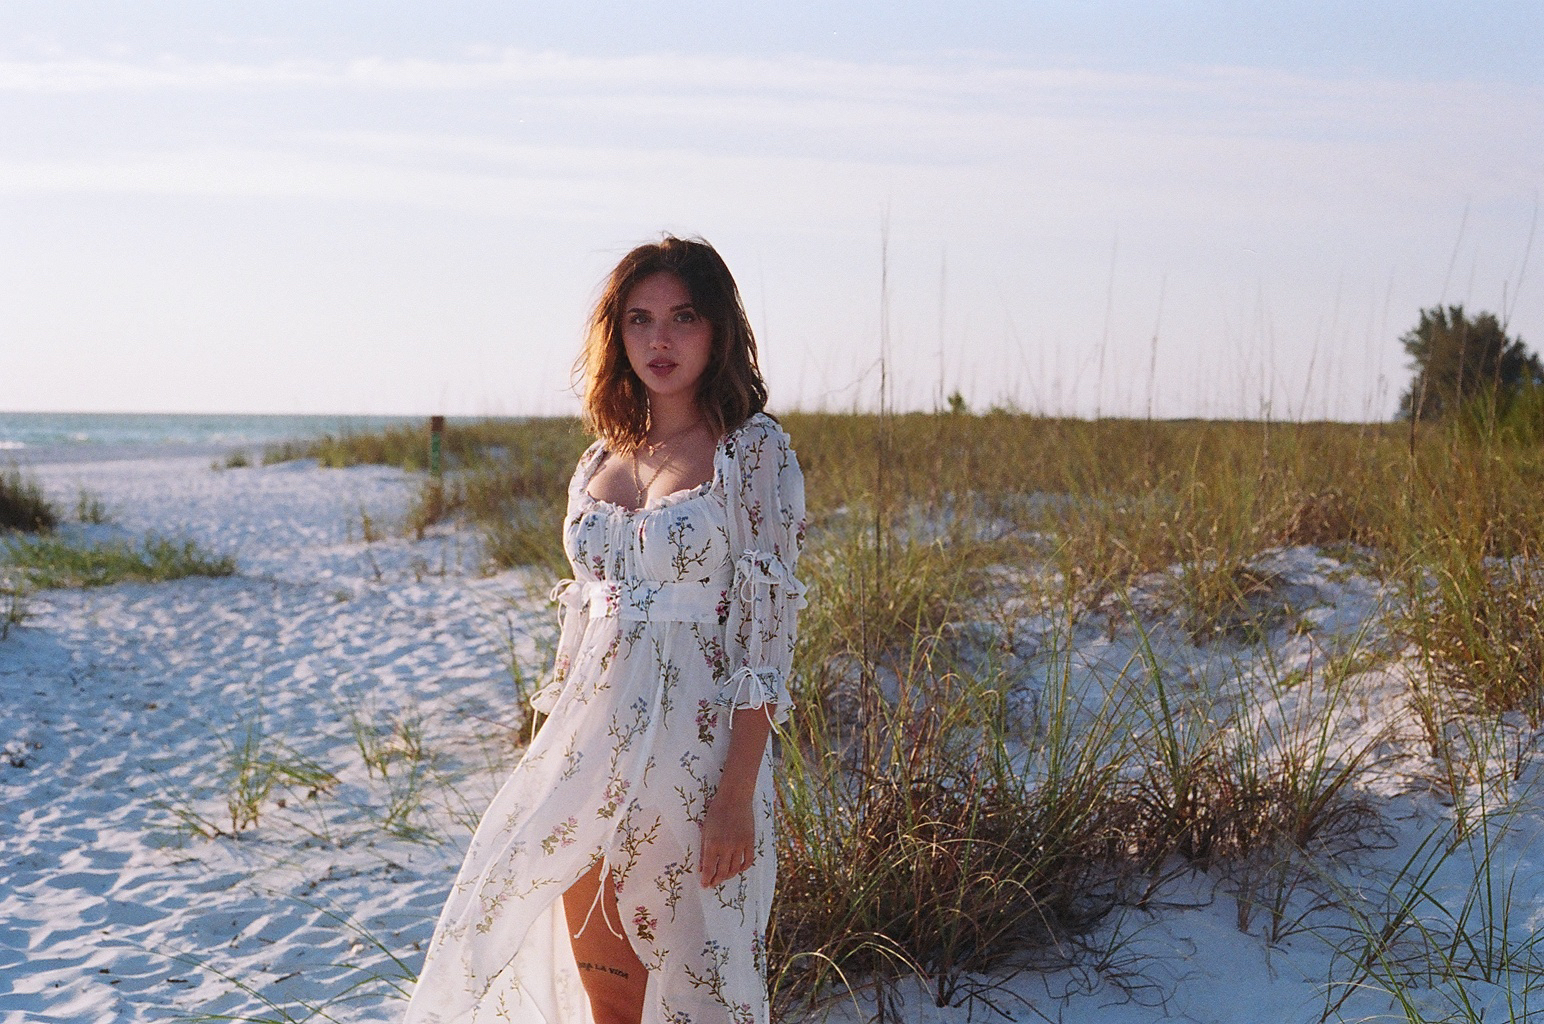
Processed with VSCO with m5 preset
Once you’ve got the colouring down, another fun app to try is Filterloop. This app has tons of filters and textures like adding film grain and light leaks, and even the ability to create double exposures. Have fun with it but don’t go too far, one of my favourite things about both of these apps is the ability to control the intensity of the filter so you can choose how visible you want to make the changes. I usually like to find a solid middle ground.
So, next time you’re out shooting, or end up somewhere without a camera on hand, don’t shy away from using your phone.